Few assumptions:
1. PKS is already installed as shown by my Operations Manager UI below

2. A PKS Cluster already exists as shown by the command below
pasapicella@pas-macbook:~$ pks list-clusters
Name Plan Name UUID Status Action
my-cluster small 1230fafb-b5a5-4f9f-9327-55f0b8254906 succeeded CREATE
Example:
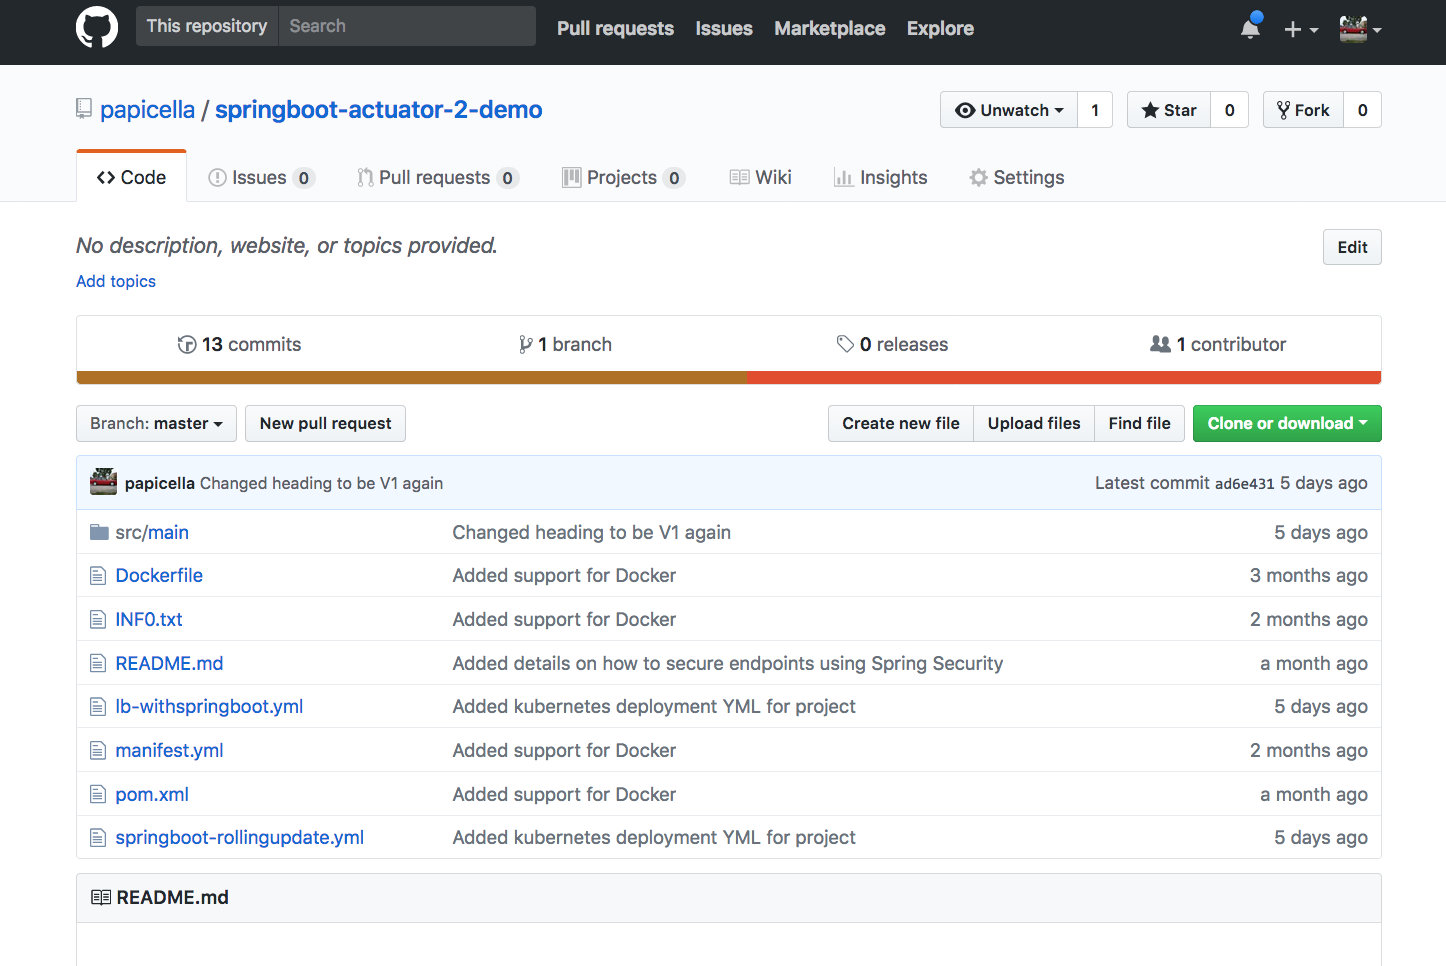
We will be using this Spring Boot application at the following GitHub URL
https://github.com/papicella/springboot-actuator-2-demo
1. In this example my Spring Boot application has what is required within my maven build.xml file to allow me to create a Docker image as shown below
<!-- tag::plugin[] -->
   <plugin>
    <groupId>com.spotify</groupId>
    <artifactId>dockerfile-maven-plugin</artifactId>
    <version>1.3.6</version>
    <configuration>
     <repository>${docker.image.prefix}/${project.artifactId}</repository>
     <buildArgs>
      <JAR_FILE>target/${project.build.finalName}.jar</JAR_FILE>
     </buildArgs>
    </configuration>
   </plugin>
   <!-- end::plugin[] -->

   <plugin>
    <groupId>org.apache.maven.plugins</groupId>
    <artifactId>maven-dependency-plugin</artifactId>
    <executions>
     <execution>
      <id>unpack</id>
      <phase>package</phase>
      <goals>
       <goal>unpack</goal>
      </goals>
      <configuration>
       <artifactItems>
        <artifactItem>
         <groupId>${project.groupId}</groupId>
         <artifactId>${project.artifactId}</artifactId>
         <version>${project.version}</version>
        </artifactItem>
       </artifactItems>
      </configuration>
     </execution>
    </executions>
</plugin>
2. Once a docker image was built I then pushed that to Docker Hub as shown below

3. Now we will need a PKS cluster as shown below before we can continue
pasapicella@pas-macbook:~$ pks cluster my-cluster
Name: my-cluster
Plan Name: small
UUID: 1230fafb-b5a5-4f9f-9327-55f0b8254906
Last Action: CREATE
Last Action State: succeeded
Last Action Description: Instance provisioning completed
Kubernetes Master Host: cluster1.pks.pas-apples.online
Kubernetes Master Port: 8443
Worker Instances: 3
Kubernetes Master IP(s): 192.168.20.10
4. Now we want to wire "kubectl" using a command as follows
pasapicella@pas-macbook:~$ pks get-credentials my-cluster
Fetching credentials for cluster my-cluster.
Context set for cluster my-cluster.
You can now switch between clusters by using:
$kubectl config use-context
pasapicella@pas-macbook:~$ kubectl cluster-info
Kubernetes master is running at https://cluster1.pks.pas-apples.online:8443
Heapster is running at https://cluster1.pks.pas-apples.online:8443/api/v1/namespaces/kube-system/services/heapster/proxy
KubeDNS is running at https://cluster1.pks.pas-apples.online:8443/api/v1/namespaces/kube-system/services/kube-dns/proxy
monitoring-influxdb is running at https://cluster1.pks.pas-apples.online:8443/api/v1/namespaces/kube-system/services/monitoring-influxdb/proxy
To further debug and diagnose cluster problems, use 'kubectl cluster-info dump'.
5. Now we are ready to deploy a Spring Boot workload to our cluster. To do that lets download the YAML file below
https://github.com/papicella/springboot-actuator-2-demo/blob/master/lb-withspringboot.yml
Once downloaded create a deployment as follows
$ kubectl create -f lb-withspringboot.yml
pasapicella@pas-macbook:~$ kubectl create -f lb-withspringboot.yml
service "spring-boot-service" created
deployment "spring-boot-deployment" created
6. Now let’s verify our deployment using some kubectl commands as follows
$ kubectl get deployment spring-boot-deployment
$ kubectl get pods
$ kubectl get svc
pasapicella@pas-macbook:~$ kubectl get deployment spring-boot-deployment
NAME DESIRED CURRENT UP-TO-DATE AVAILABLE AGE
spring-boot-deployment 1 1 1 1 1m
pasapicella@pas-macbook:~$ kubectl get pods
NAME READY STATUS RESTARTS AGE
spring-boot-deployment-ccd947455-6clwv 1/1 Running 0 2m
pasapicella@pas-macbook:~$ kubectl get svc
NAME TYPE CLUSTER-IP EXTERNAL-IP PORT(S) AGE
kubernetes ClusterIP 10.100.200.1 443/TCP 23m
spring-boot-service LoadBalancer 10.100.200.137 35.197.187.43 8080:31408/TCP 2m
7. Using the external IP Address we got GCP to expose for us we can access our Spring Boot application on port 8080 as shown below using the external IP address. In this example
http://35.197.187.43:8080/

RESTful End Point
pasapicella@pas-macbook:~$ http http://35.197.187.43:8080/employees/1
HTTP/1.1 200
Content-Type: application/hal+json;charset=UTF-8
Date: Wed, 09 May 2018 05:26:19 GMT
Transfer-Encoding: chunked
{
"_links": {
"employee": {
"href": "http://35.197.187.43:8080/employees/1"
},
"self": {
"href": "http://35.197.187.43:8080/employees/1"
}
},
"name": "pas"
}
More Information
Using PKS
https://docs.pivotal.io/runtimes/pks/1-0/using.html